Your first QSO
A guided first session, from signing in to disconnecting, with a contact in the log.
Updated 12 Nov 2026
On this page
This walkthrough takes you through a complete first session on a phone (SSB) station. Allow twenty minutes, and have your headset plugged in before you start. Every step links to the article that covers it in depth.
1. Sign in and open the console
- Go to my.remotehamradio.com and sign in with your e-mail or callsign and password.
- Click Sign In to Console. You can also reach it from your account page with Launch Console.
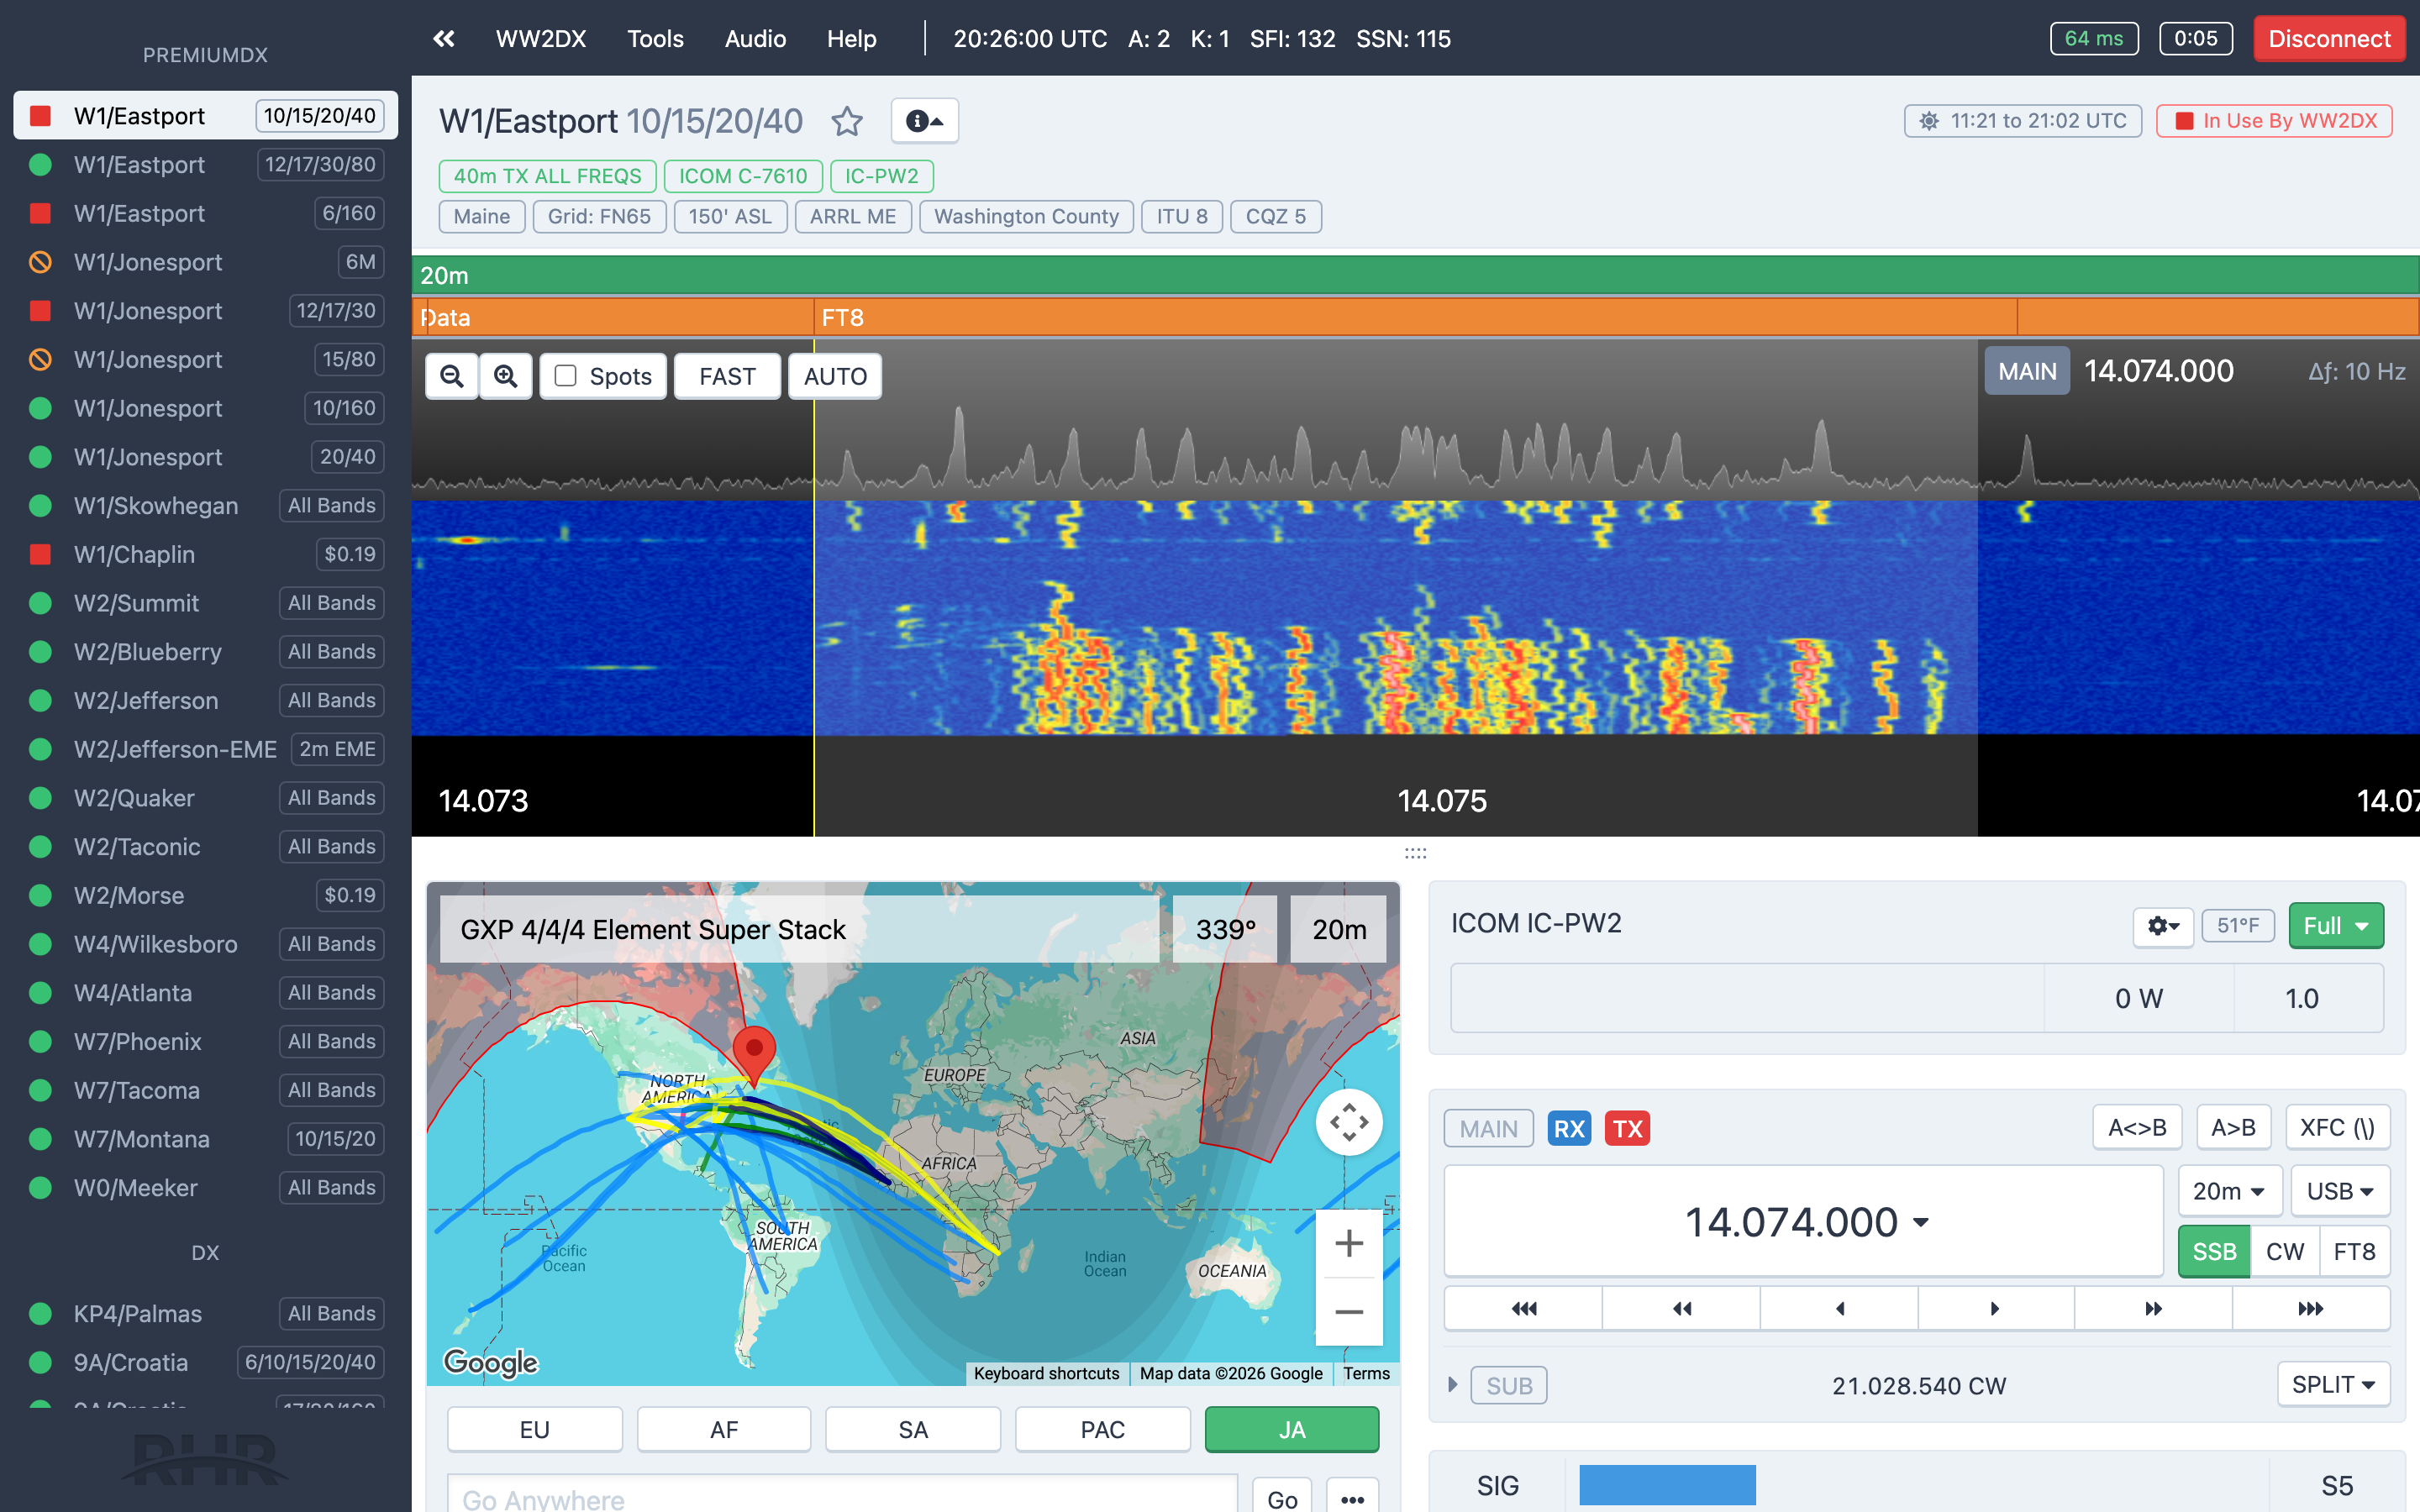
The console opens with the station list on the left and the Audio menu in the header. See Console tour.
2. Set up audio
- Open the Audio menu and choose Audio Setup Wizard. It is highlighted in orange until you have run it.
- Step 1 asks you to allow microphone access. The browser shows its own permission prompt; click Allow.
- Step 2: pick your speakers or headset and click Play Test Sound.
- Step 3: pick your microphone, speak and watch the meter move, then click Done.
You can run the wizard again at any time. For details and browser-specific permission steps see Audio setup.
3. Pick a station
Each station in the list shows a status: Available, In Use or Standby, and Unavailable when it is offline. Click an Available station. Its header shows the name, the local sunrise and sunset, and the per-minute rate.
For your first session choose a 100 W station on a band that is open where the station is. The station's time of day matters more than yours.
4. Connect
- Click Connect - $…. If the station offers more than one rate, a Select a Rate menu opens; pick one. A rate marked Receive only cannot transmit.
- Watch the button step through Authorizing…, Connecting… and Configuring….
- Once connected, the header shows a timer and RTT, your round-trip time to the station.
Airtime starts now at the rate you chose, and the same rate applies whether you are transmitting or just listening. See Connect to a station.
5. Tune around
- Click a signal on the panadapter to tune to it.
- Or click the big frequency display (Quick Tune), type a frequency in kHz or MHz and press
Enter. - Change bands and modes from the menus next to the frequency, or click SSB, CW or FT8.
Adjust the receive filter and noise reduction from the Receive controls. See Tuning and the VFO and Panadapter and waterfall.
6. Make the contact
- Find a station calling CQ and listen for a moment to confirm the frequency is clear and inside your license privileges.
- Hold the PTT button, or hold the
Ctrlkey, and speak. Release to listen. The default PTT key can be changed in Console Settings. - Identify with your own callsign. From a station outside the US, use the prefix shown for that station, for example
9A/followed by your callsign. See Identifying yourself on the air. - Watch the ALC, Power and SWR meters while you transmit, and keep your voice at a steady level.
See Transmitting for VOX, power and audio processing.
7. Log it
The Log Entry panel is already set to your logbook, the station, the frequency and the mode. Type the other station's callsign, the reports, and press Enter. The contact appears in the Log tab of the toolbox and in your logbook on the web. See Logging from the console.
8. Disconnect
Click the red Disconnect in the header when you are done. Airtime stops when the connection ends, not when you close the tab.
What to do next
- Set a PTT key you like and pick a theme in Console settings.
- Try CW with the built-in keyer and macros: CW.
- Work FT8 without any extra software: FT8 in the console.
- Check your airtime and the included credit under Account → Airtime.
Related articles
-
Operating the console
Connect to a station
Read a station's status, choose a rate, connect with or without a microphone, and disconnect when you're done.
-
Operating the console
Audio setup
Run the Audio Setup Wizard, allow the microphone in your browser, choose your speakers and mic, and set the volume.
-
Operating the console
Tuning and the VFO
Type a frequency, pick a band and mode from the presets, and tune with knobs, buttons or a slider.
-
Operating the console
Transmitting
Push to talk from the keyboard, mouse or touch screen, use VOX, set power and the monitor, read the meters and understand transmit lockouts.
-
Logbook
Logging from the console
The Log Entry panel, its keyboard flow, and the Log tab for quick edits.
Still stuck?
Tell us what you were trying to do and what happened, and we'll help.